Wedding 12/19

Photobucket

Photobucket

Photobucket
Read full post »

Senior 11/20

Photobucket
Read full post »

Wedding 12/12

Photobucket

Photobucket

Photobucket

Photobucket

Photobucket
Read full post »

Wedding 11/14

Photobucket

Photobucket
Read full post »

Happy New Year!!


This past year I've slowly been adding to my collection of hairstyle tutorials, which has been so much fun! I would have loved to done more, but I've been very busy with school and just life in general. Thanks so much to all my followers for your support and suggestions! I thought I'd list some of my goals for the coming year:

1. Create a show-and-tell album where I can display your results
2. Post at least 1 hair tutorial a month
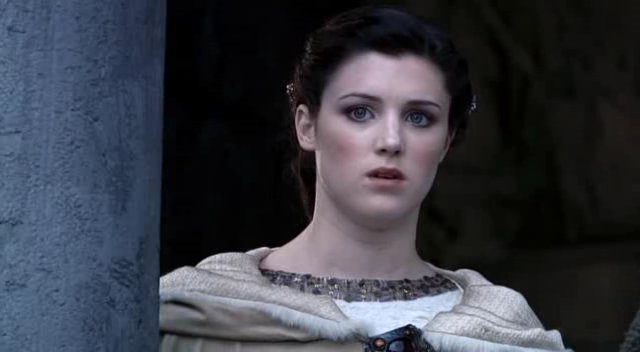
3. Create makeup profiles of historical movie characters
4. Incorporate more reader input - I want to know what you want to see!

I'm planning on focusing primarily on movie hairstyles this year, but in the future I'd love to interpret hairstyles from famous paintings! And with one of my dear friends getting married in May, I'll have to post at least one modern wedding style!

Have a very Happy New Year!
Read full post »

Marian's Long Loose Waves


Note: I started out this hairstyle with wavy hair. We used a waving iron with 3 barrels for the curls. You can also braid your hair when it’s damp and let it dry that way to achieve a similar look. French braiding works the best.


Step 1: Create foundation

Pull sections back and fasten with bobby pins to create a half-pony tail. You’re aiming for a nice, soft look, so be a little loose.


Step 2: Cover the base

Using your tails, wrap gently around to create a soft, flat bun that blends nicely into your style. Noting fancy, just wrap it gently around and secure with pins.


That’s it!! A beautiful and easy Maid Marian hairstyle just for you!!!

Read full post »

Update

Welcome back!


I've finally gotten back to work on some more tutorials. Check out the BBC's Robin Hood page, where you'll find some tutorials on how to get Marian's look! Over Christmas break I'm planning on working on some more eras, and I'd love your input. Just leave a comment or shoot me an email and let me know what you're looking for.

Thanks so much!
Amy
Read full post »

Gallery Directory

Read full post »

Marian's Hair-stick Bun


Note: This hairstyle was done with “leftover curls” from the Marian’s Braided Headband tutorial. Follow step 1 to get the same effect. Also, the model has longer hair than Lucy Griffith’s did on the show (and super full hair on top of that!), so her finished bun is somewhat fuller than Marian’s.


Step 1: Part your hair

You’re going to section your hair into 3 roughly equal parts, going from ear to ear, so to speak.


Clip the top two out of the way for now.


Step 2: Twist

Pull the hair straight up, and smooth with a brush or comb, then twist the hair as shown.


Roll it around once and pin into place, leaving a tail poking out of your bun. Leave the tail for now.


Step 3: Second layer

Take down the second section, and divide roughly in half.


Slightly twist one section as you pull it across to the opposite side and secure it right above the bun with a couple pins.


Repeat with the other side.


Next, take your tails and shape them into curls, securing around bun as shown.


Your finished step 3 should look something like this.


Step 4: Top layer and finishing

Create a side part way far over to one side.


Back comb the base of the smaller section to give it volume, pull it across and twist it as before.


Secure with pins.


Repeat with other side, and arrange the tails from both sides into curls.


Mist with hairspray, and stick in a decorative hair stick or two. Or a dagger. But be careful, you don't want to cut your hair off on accident.


We put in a brown one, which you can just barely see in the picture below. My model wasn't too keen on the idea of a dagger in her hair.


Just gorgeous!!!!

Read full post »
 

Copyright © More Hairstyles Design by Free CSS Templates | Blogger Theme by BTDesigner | Powered by Blogger